Slate Tile Floor Installation Services for Property Owners
Visitors can learn about local contractors who specialize in slate tile floor installation services and how they can help with their projects.
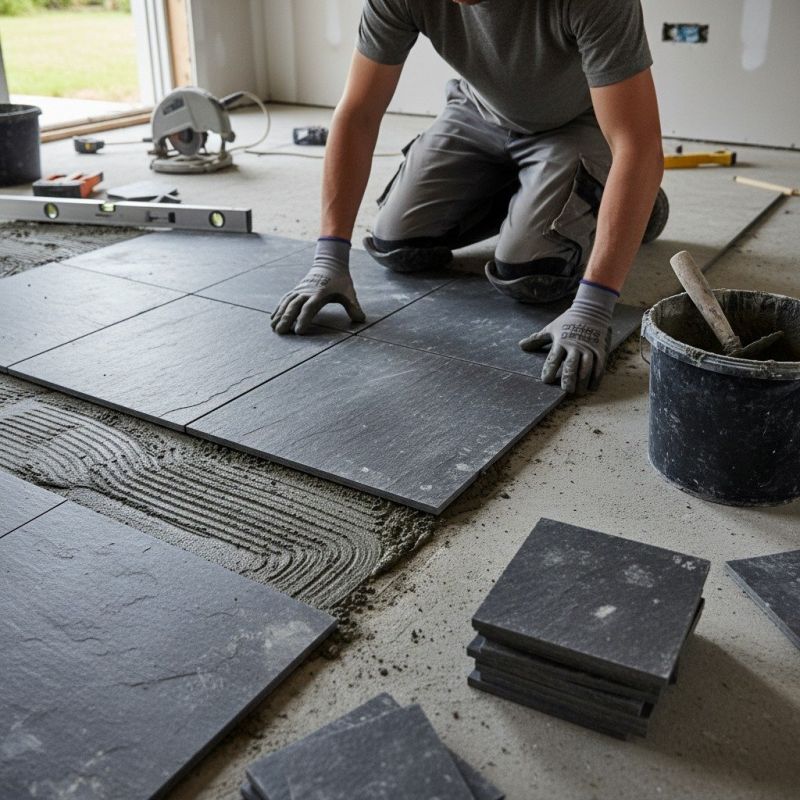
- - Slate tile floor installation services for residential homes, including kitchens, bathrooms, and entryways.
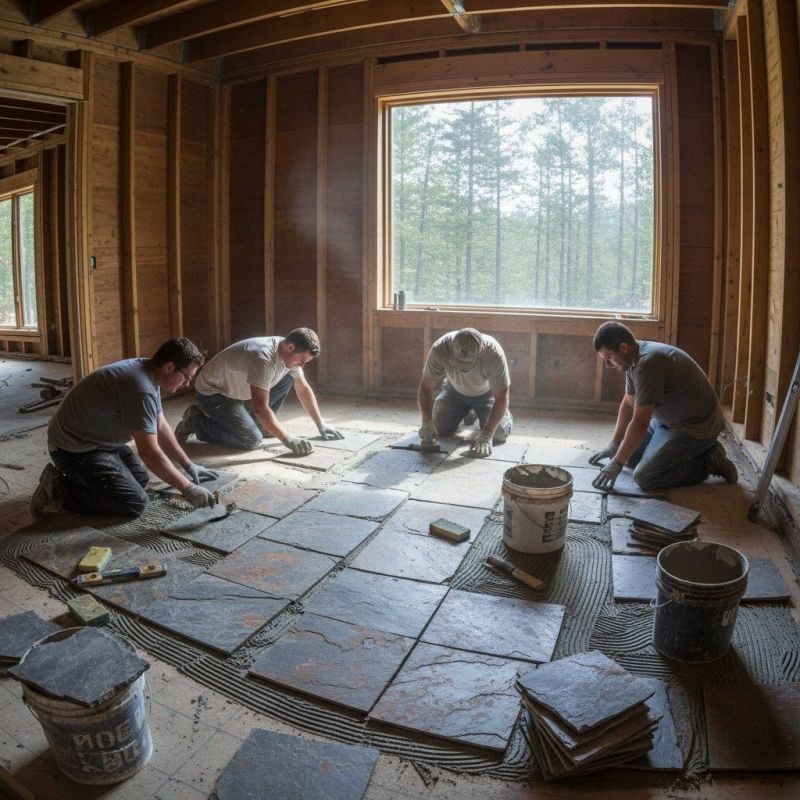
- - Commercial property upgrades and renovations requiring durable and stylish flooring solutions.
- - Local contractors specializing in precise, professional slate tile installation for various property types.
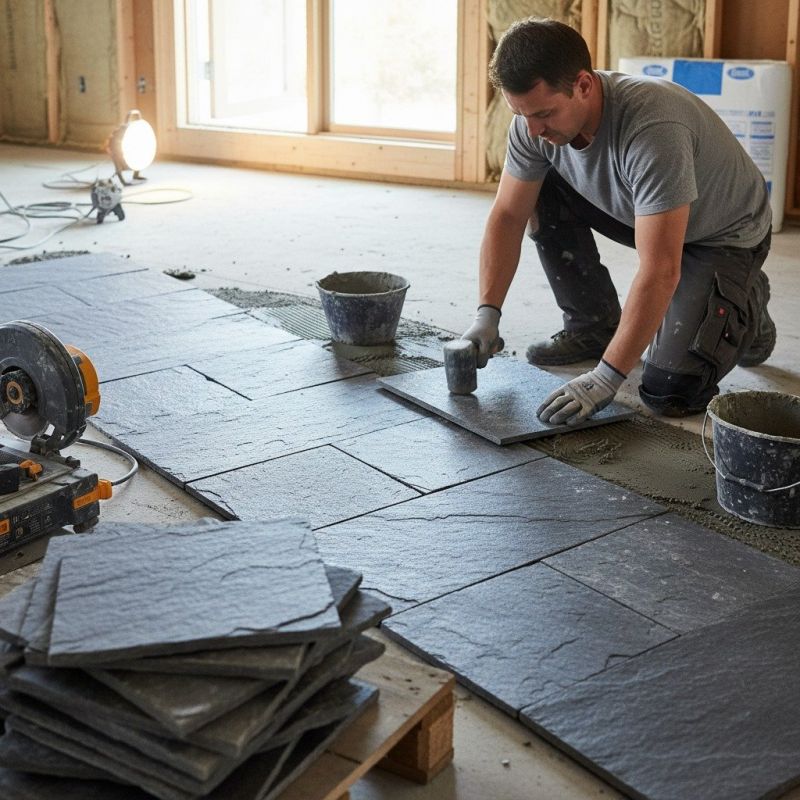
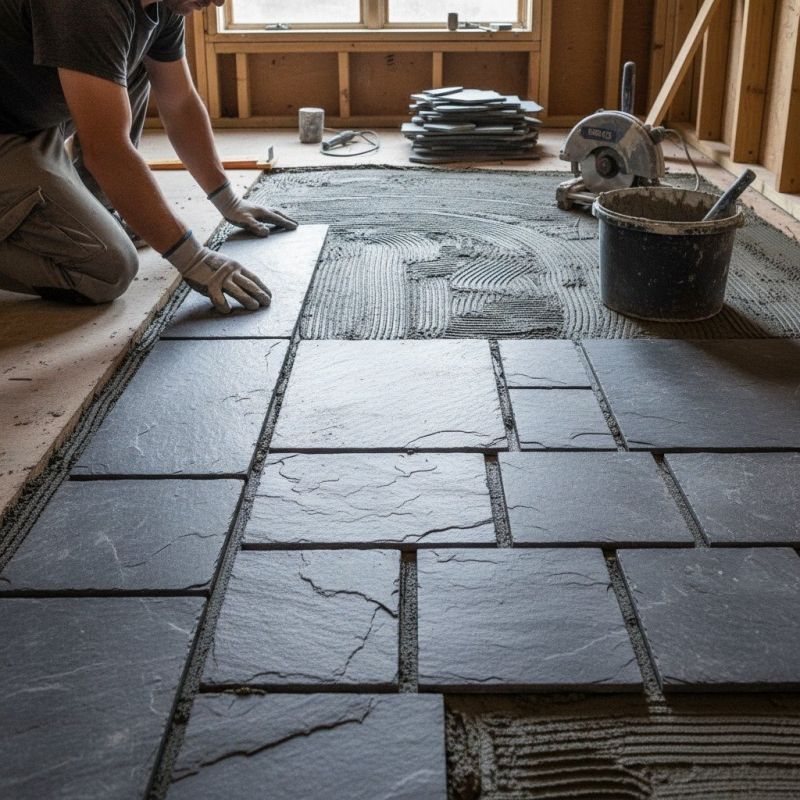
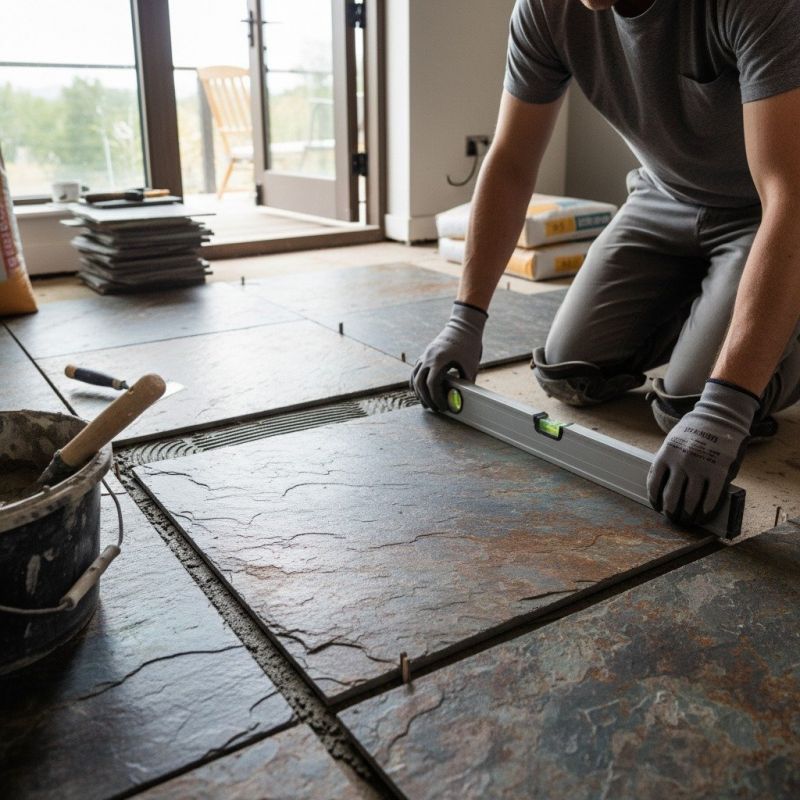
Slate tile floor installation is a popular choice for property owners seeking a durable and attractive surface for indoor and outdoor spaces. This work involves preparing the existing surface, carefully laying each slate tile with precision, and ensuring proper grouting and sealing to achieve a long-lasting finish. Homeowners often turn to local contractors specializing in tile installation to handle these tasks, especially when updating or remodeling kitchens, bathrooms, patios, or entryways. These professionals can assess the space, recommend suitable slate options, and deliver a finished product that enhances the property's aesthetic and functionality.
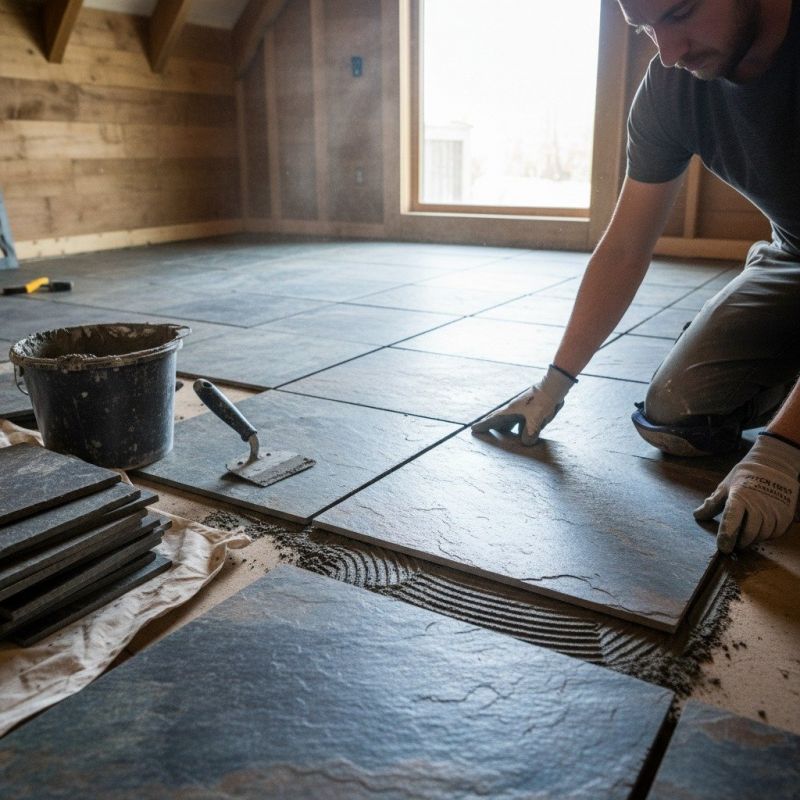
Connecting with experienced local service providers can make the process of installing slate flooring more straightforward. Many property owners seek assistance from local contractors who understand the specific requirements of slate tile work, including proper surface preparation and installation techniques. By comparing different local pros, property owners can find those best suited to their project needs, ensuring a professional approach and quality results for their flooring upgrade.
This guide provides helpful information to understand the key aspects of slate tile floor installation. It assists in comparing local contractors and understanding what to expect from their services. The goal is to help visitors gather the basics needed to connect with qualified service providers in their area.